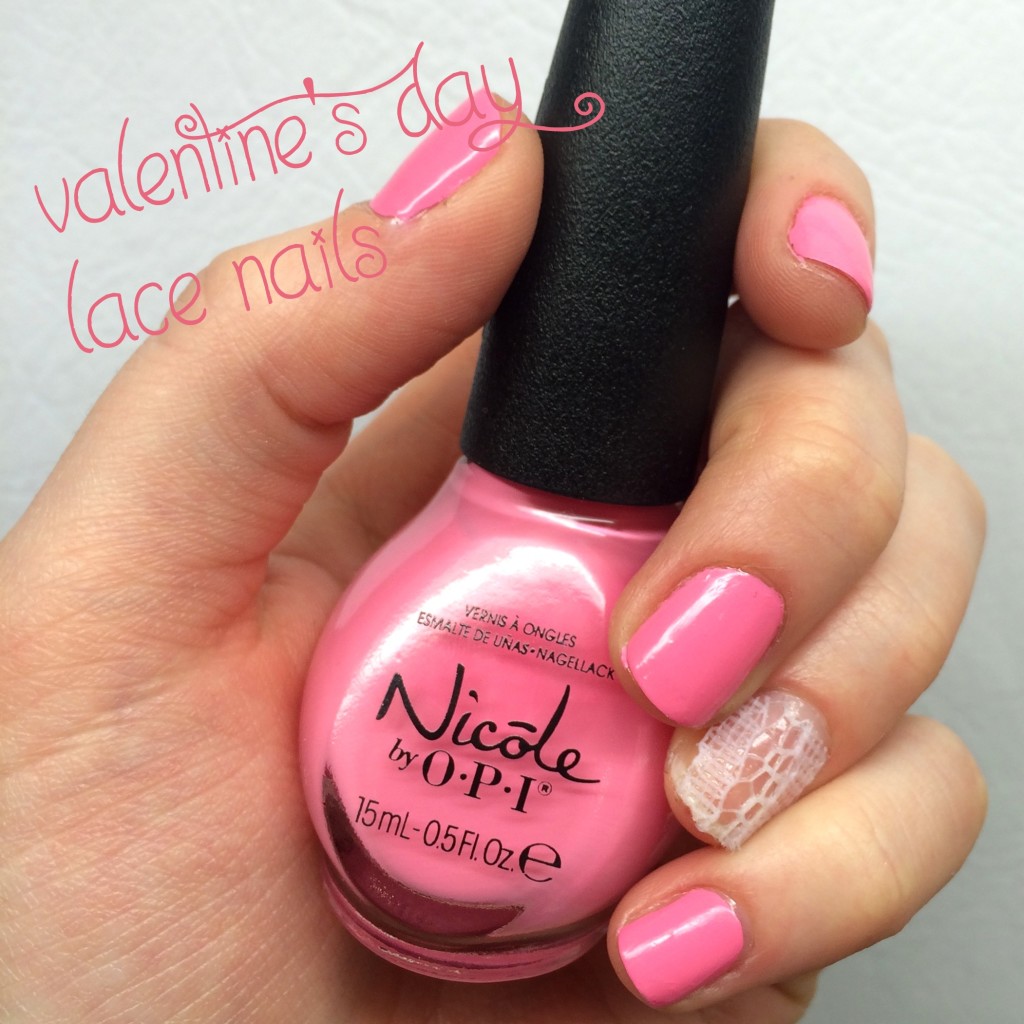
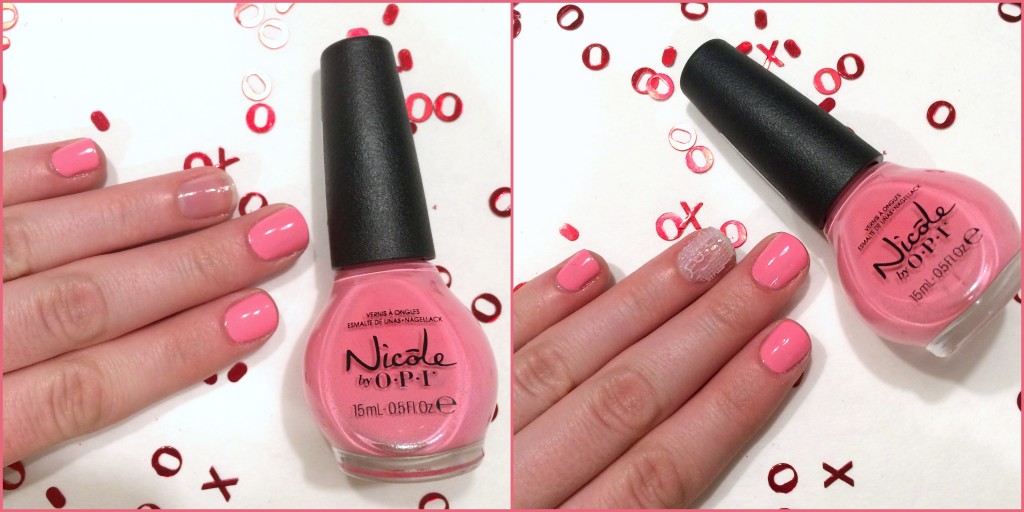
Want to try something cute on your nails for Valentine’s Day but don’t want to put too much effort into the look? Try this easy lace mani tutorial for fun, date night ready nails.
What you need:
- Pink nail polish – I used Nicole by OPI In Sync With Pink
- A clear base coat/sheer polish
- Lace – try to find some that is very lightweight and not stiff (a mistake I made!)
How to:
- Paint 2 coats of pink polish on all nails except for the ring finger (or other accent finger of your choice). Allow to dry then lock in with top coat.
- Cut out a section of lace that will cover your accent nail. It’s ok if it’s not perfect!
- Paint 1 coat of base coat/sheer polish on your accent nail. Allow to dry just a little, so it remains tacky.
- Apply the lace section you had pre-cut to the accent nail, lightly pushing it into the tacky polish to allow it to adhere.
- Finish off by applying top coat over the lace, focusing on the edges, to lock the lace in place. Note that this will dull the colour of the lace a little bit so it is not as noticeable, but is a great way to ensure the edges are flat.
- Using small scissors (I like using brow scissors for this step since they can get in close), snip off any lace that hangs over the tip of the nail or that stick out in any place.
What do you think of this Valentine’s Day manicure?